
....while painting wood for my baseboards, of course.
*
And watching my kiddos play Indians. Ever since Zoe learned about our Choctaw and Black Foot heritage she has been fascinated. They are so adorable making up their own Indian names, crafting headdresses, and going on "hunting trips" through the yard.

We've worked on so many things the past couple of weeks and it is wonderful....but being this close to the finish line is making me one antsy-pantsy-artist!
Check out these updates and special projects:

Before we began "finishing out" the room we had to mix and pour and smooth out 6 containers of ready mix concrete in the toilet area because there was a huge jack hammered hole from the original construction phase of the building that we needed to repair.

And since the floor was pretty awful looking I didn't want to clear seal it like I did the rest of the studio so we went shopping for alternatives.
Fortunately, the room is only 4' x 5' so it wouldn't be too costly to cover it. We looked at tile, vinyl, and laminate options before choosing this. It is 100% waterproof luxury vinyl flooring (got ours in stock at Lowe's around $55 for a box that covers 20 sq. ft. It looks like wood planks. It has a great texture and it was so easy to install. It just snapped together over the top of the concrete (although we did choose to add a layer of the thin foam underlayment since we had some left over from doing the bathrooms in our house). It adds a bit of cushion and sound buffering over the cold, imperfect concrete.


The front was pretty big and plain looking so I grabbed an old drawer facing left over from another project to add a little decorative element.
I sanded everything, then mixed a light gray color and painted everything twice.

Then I mixed a dark custom glaze with a bit of metallic shimmer in it. I applied the glaze using one brush to paint it on and another large clean brush to brush it off going in a consistent up and down pattern to give a wood grain like effect.


I wanted a cool shelf above the toilet so I grabbed a good size scrap piece of 4'x4' from our wood pile, sanded it, and wiped it with some gray/charcoal wood stain. Then we used two 2.5" L-brackets to mount it to the wall. By screwing the brackets to the wall first and then setting the wood on top and screwing into it from underneath we created a sturdy floating shelf.

I already love this deep utility sink and my sprayer faucet.

Cool Projects
Here are all the ways we are using my old wooden ladder:
First, the main climbing part of the ladder will be put on wheels and attached at the top to metal piping that runs along the front of the studio loft to be used as a kind of "library ladder" (more photos on that project later...it's in progress right now)
Second, we cut off the back side of the ladder and leaned it against the wall in the bathroom next to the toilet. It is attached at the top with small L-brackets for safety. We drilled a hole in the side and threaded a pipe through and screwed on metal end caps to make a toilet paper holder. I will hang hand towels on an upper rung.


Outside:
The huge wrap-around deck is going to be a great place to relax and make art, stargaze at night, watch fireworks in the summer, have cook outs with family and friends...especially when the weather is nice.

Stairs lead out into the back yard.


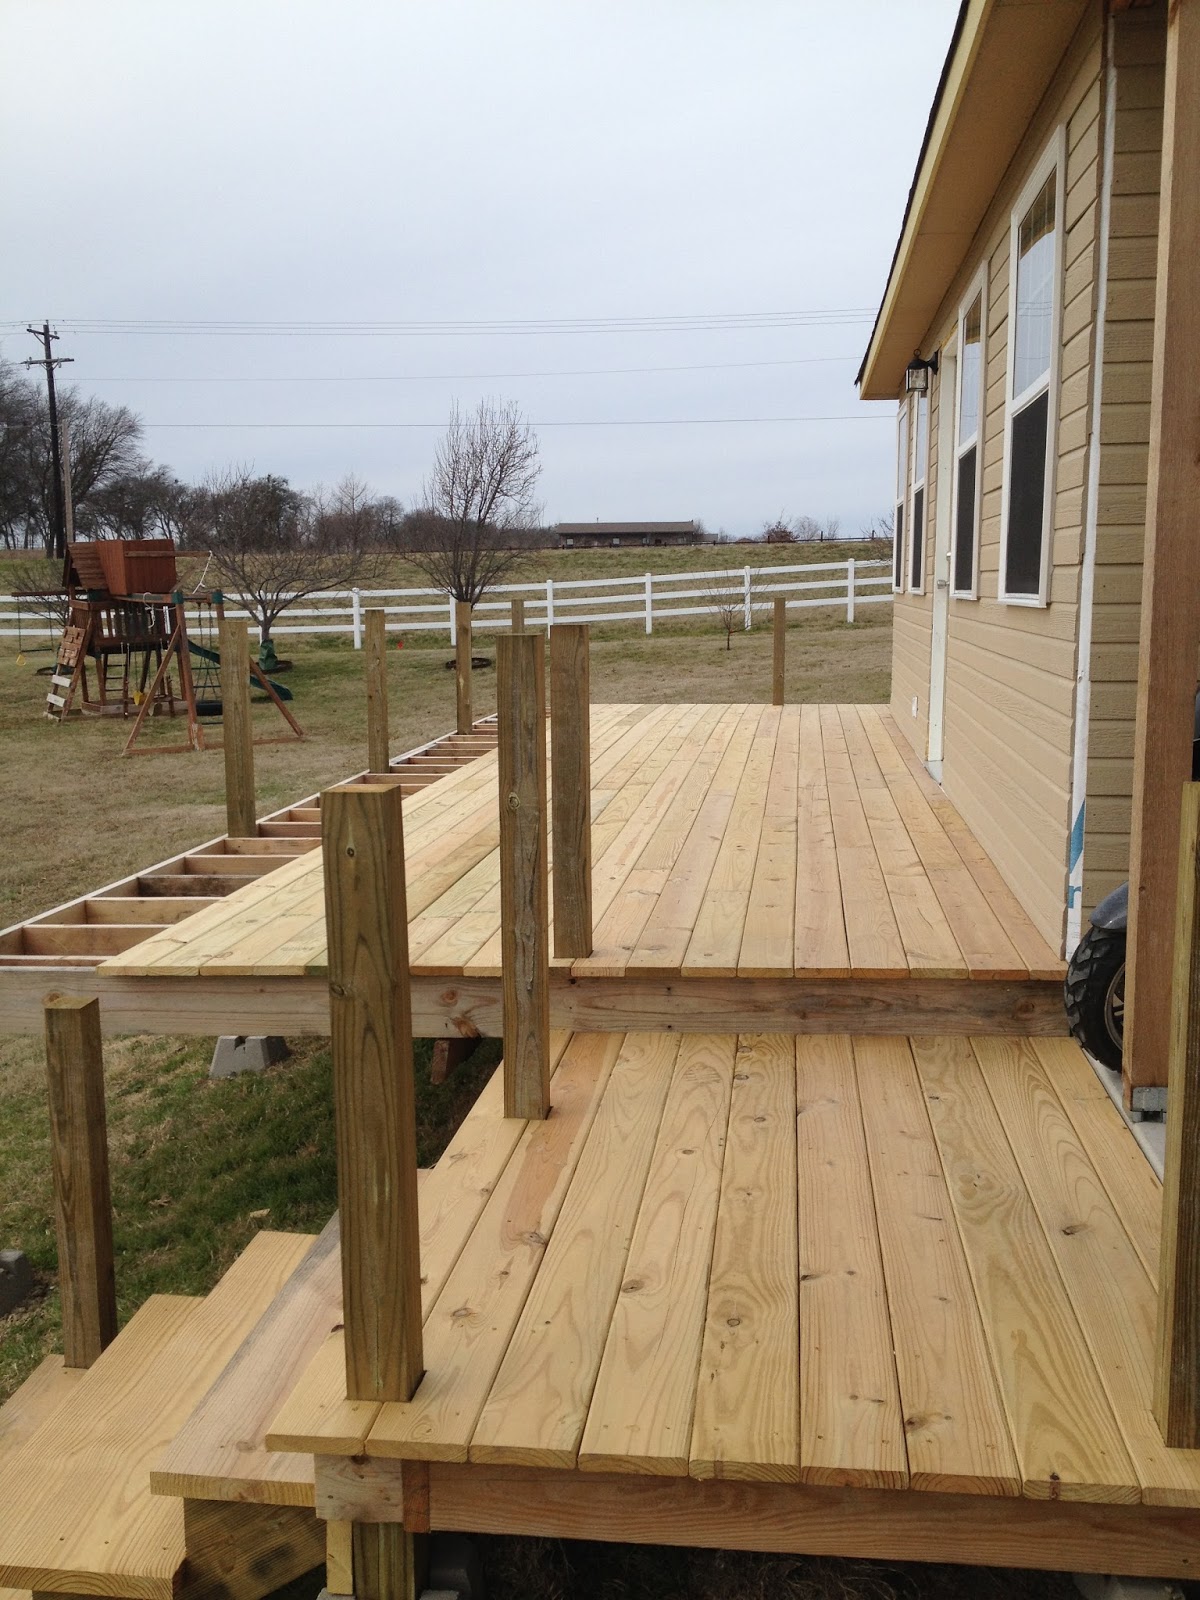
I am ready to see it all stained and painted on the exterior....anybody want to come help me with exterior painting?
No, really.
Could totally pay with monopoly money or cook/bake something really yummy to entice workers.
xo
1 comment:
it all looks so great!!!!
Post a Comment