

I had been searching and searching online garage sale sites for some sort of useful storage cabinet or bookshelf and having no luck at all. Too big, too small, too expensive or just too awful...like why even bother posting that for free, just throw it in the dumpster already....and you know it's bad if I would say that.
So, I began sketching a rough idea of what I wanted to show Jeremy. And of course, his first comment was.... "we should just make that". Gosh I love that guy!
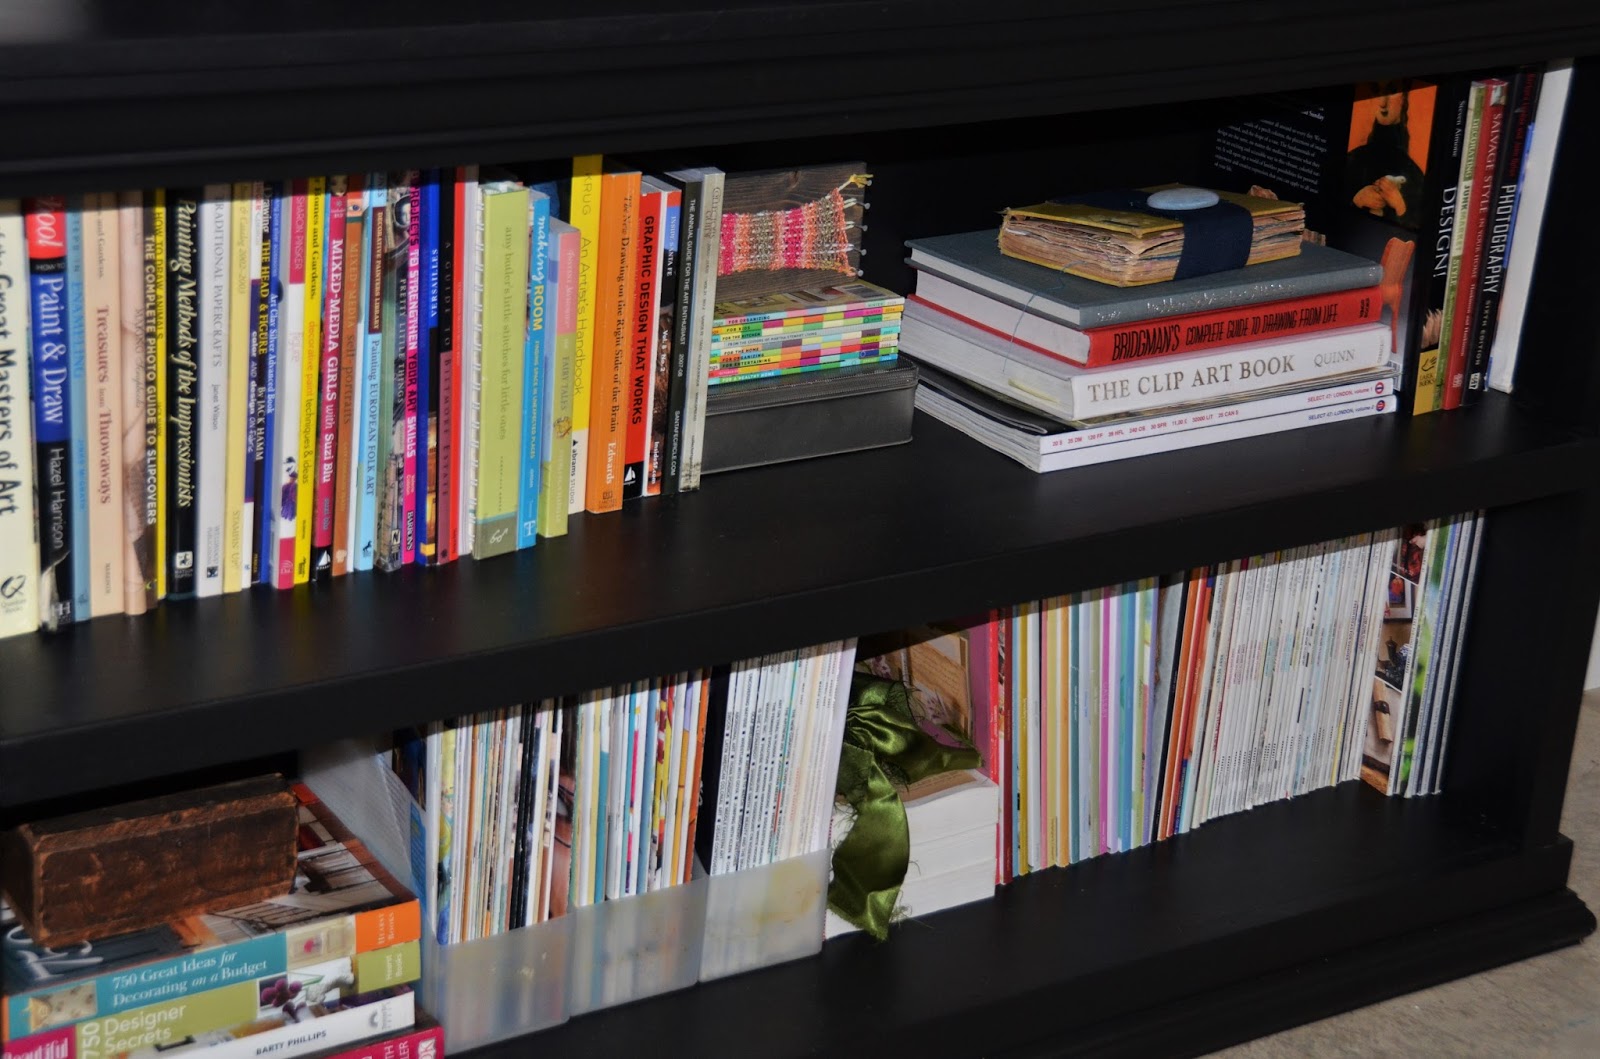
We decided on combining the style of an open hutch on top with a base that was a book shelf instead of cabinets. But the deeper book shelf on bottom was different because it would have a large storage area across the front and a smaller hidden book shelf on one side. I wanted a curved arch detail at the top and different types of moulding and trim pieced together on top and bottom. I also wanted to leave an opening to fit a little curio cabinet I had. It's more fun when it's a challenge I think, don't you.
I wanted to use as many scrap pieces of wood as possible before purchasing any new stuff.
So I had to write down what I wanted the measurements on everything to be and see what we had that could be re-used for this project. Here's my chicken scratch measurement list.

We were able to re-use an old desk top from our "save-this-cause-I-know-we-could-use-it" stash, and several pieces of trim, and some random 1"x 2" and 1"x 4" pieces of wood.
Then there was the obligatory trip to the home improvement store to get some nice quality plywood, additional 1"x 2" and 1"x 4" and one piece of crown moulding to add to what we had. And a gallon of paint (Valspar, Dark Kettle Black, satin finish).

Here's the little curio cabinet. I picked this thing up at a garage sale for $5 a few years ago. What a find! It is a treasure to me. But it was a pain to paint, geez Louise!


Here are some of the sides and shelves cut and primed and ready to be put together.

This picture really shows all of the many pieces we put together to build this two part unit. I try to prime things before we build but didn't get to all of them on this project in time. Jeremy thought it looked pretty awful in this stage but I could see the potential.

Once the backing was on and all the pieces were in place I filled nail holes and did all of the paint finishing and it was good to go.
I knew it was going to be great. No doubt.
And it is. I love it in the space and it is exactly the storage/display piece I wanted. Thanks babe.


1 comment:
I'm cheering you on from afar. I love it all! The studio and the cabinet are both AWESOME!
Post a Comment