

Showing posts with label DIY. Show all posts
Showing posts with label DIY. Show all posts
Tuesday, October 25, 2016


Monday, September 26, 2016
Fire Pit / Coffee Table DIY
Our most recent project with reclaimed wood.....
 Once again we used boards from old fences to do this project.
I would estimate with me, my husband and my father-in-law working together it only took about an hour and a half to complete.
The concept was fairly simple.
Using our metal fire pit as the base, we created a coffee table top that would fit down over it like a lid which is secure from slipping off but still removable when we want to use the fire pit.
First we chose the 13 boards we would use and laid them out flat on the ground.
We placed the fire pit upside down in the center of the boards to take some measurements.
Two long boards were nailed down against the fire pit on either side to hold all 13 boards together (not too tight up next to the sides, need a 1/4"-1/2" space on each side for wiggle room) .
Then an interior board was measured to be nailed down to the center pieces. This board sits down inside the fire pit when the table top is put on. Helps it keep from sliding around.
Additional small pieces were measured, cut, and nailed along the outside rim of where the fire pit would fit under the table top....again to keep the top from sliding around as well as to better secure all boards together for structural integrity.
To make the circle cut. I took a thumbtack and a length of thin rope. I found my center point and attached it. Then using a sharpie marker tied at the other end of the rope measuring half of the diameter of my desired circle I carefully held the marker upright and drew a circle all the way around to mark our cutting line.
The circle was cut with a jigsaw and then the edges were sanded with a rotary sander.
The top of the table was left raw (no sanding, no stain, no sealer...rustic)
As a final touch. I stapled decorative silver metal edging all the way around.
*Several varieties of this "metal ribbon" can be found at local hobby and craft stores. Very easy to bend and work with , comes in rolls, and cuts with scissors.
Just as a safety measure I hammered down the top edge of this metal ribbon into the table top making sure it was flush all the way around without sharp edges sticking up. -still have to be careful lifting from underneath though just to be safe.
Thanks to my hubs and my pops! Projects are always fun when you guys are around and we can play with power tools!
Wednesday, February 24, 2016
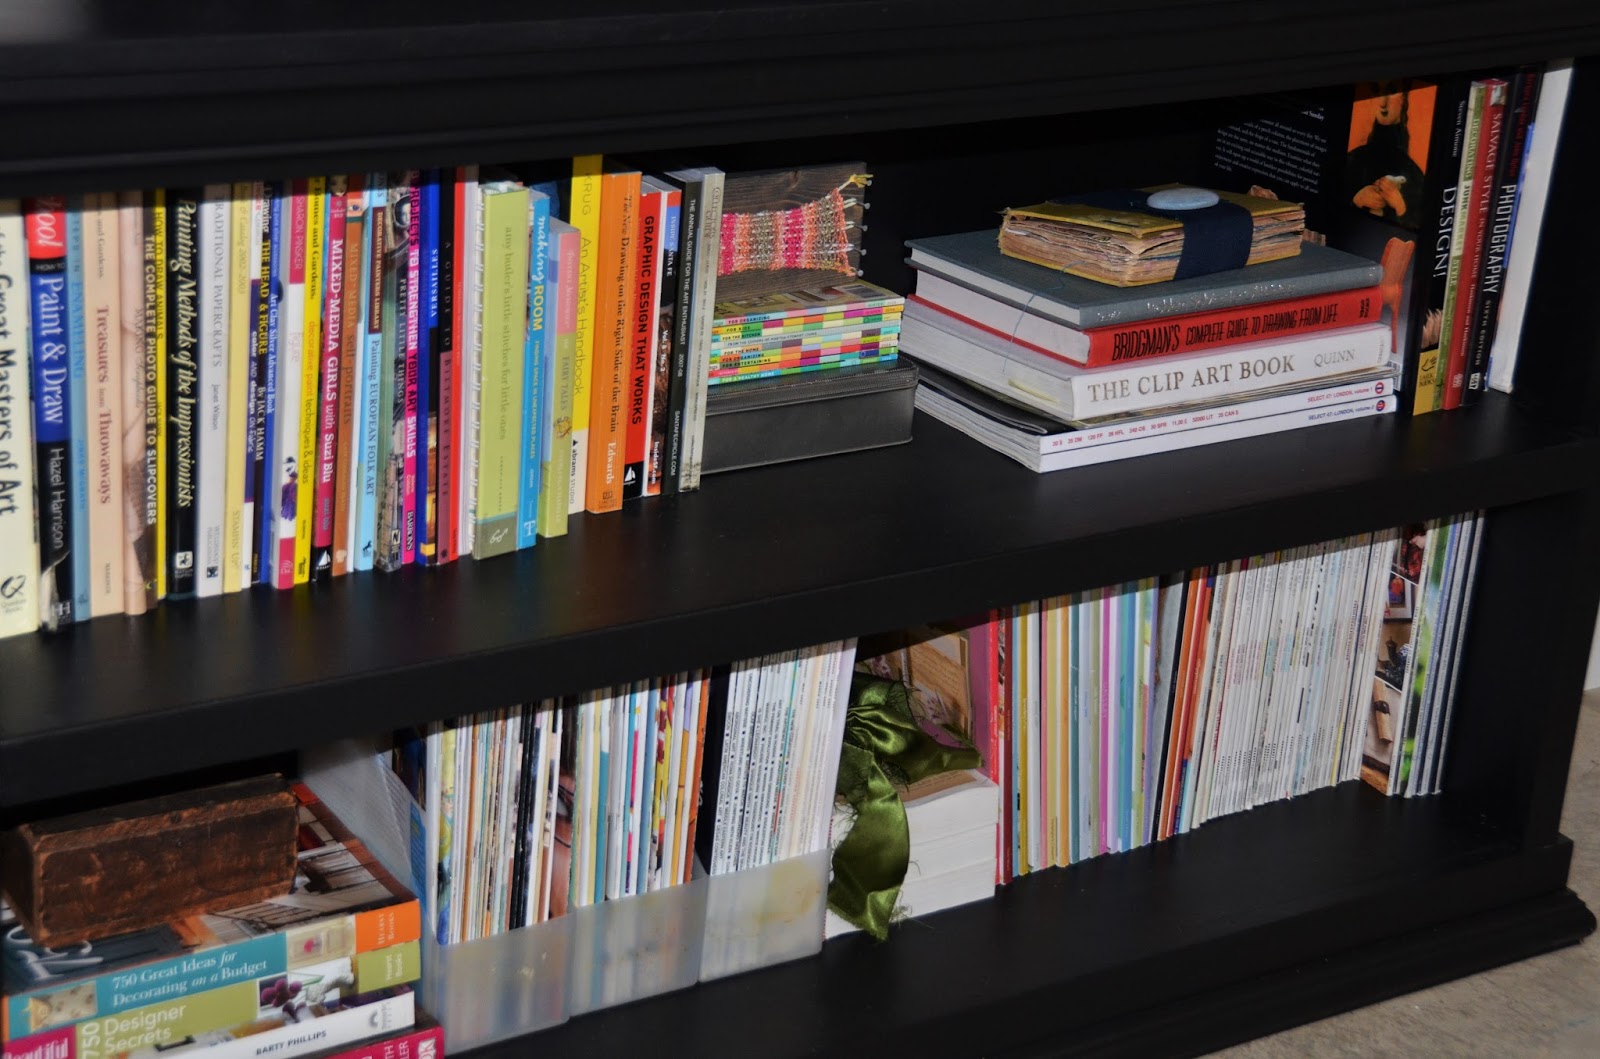
Our DIYCustom Art Hutch & Book Shelf

I had been searching and searching online garage sale sites for some sort of useful storage cabinet or bookshelf and having no luck at all. Too big, too small, too expensive or just too awful...like why even bother posting that for free, just throw it in the dumpster already....and you know it's bad if I would say that.
So, I began sketching a rough idea of what I wanted to show Jeremy. And of course, his first comment was.... "we should just make that". Gosh I love that guy!
We decided on combining the style of an open hutch on top with a base that was a book shelf instead of cabinets. But the deeper book shelf on bottom was different because it would have a large storage area across the front and a smaller hidden book shelf on one side. I wanted a curved arch detail at the top and different types of moulding and trim pieced together on top and bottom. I also wanted to leave an opening to fit a little curio cabinet I had. It's more fun when it's a challenge I think, don't you.
I wanted to use as many scrap pieces of wood as possible before purchasing any new stuff.
So I had to write down what I wanted the measurements on everything to be and see what we had that could be re-used for this project. Here's my chicken scratch measurement list.

We were able to re-use an old desk top from our "save-this-cause-I-know-we-could-use-it" stash, and several pieces of trim, and some random 1"x 2" and 1"x 4" pieces of wood.
Then there was the obligatory trip to the home improvement store to get some nice quality plywood, additional 1"x 2" and 1"x 4" and one piece of crown moulding to add to what we had. And a gallon of paint (Valspar, Dark Kettle Black, satin finish).

Here's the little curio cabinet. I picked this thing up at a garage sale for $5 a few years ago. What a find! It is a treasure to me. But it was a pain to paint, geez Louise!


Here are some of the sides and shelves cut and primed and ready to be put together.

This picture really shows all of the many pieces we put together to build this two part unit. I try to prime things before we build but didn't get to all of them on this project in time. Jeremy thought it looked pretty awful in this stage but I could see the potential.

Once the backing was on and all the pieces were in place I filled nail holes and did all of the paint finishing and it was good to go.
I knew it was going to be great. No doubt.
And it is. I love it in the space and it is exactly the storage/display piece I wanted. Thanks babe.


Monday, January 4, 2016
Creating a Custom Mud Room Built-In
Click on the image below to see what fun Jeremy and I had on a special Christmas Project!

Tuesday, May 5, 2015
Painted Furniture: Refinishing a Media Armoire
The red media armoire in the back left of this photo is the piece that I refinished on this project segment.

This is how it looked in a snapshot on my phone when I purchased it.
*The lighting in the photo makes it look darker than it actually was.


Here is what they looked like after they were sprayed with the base coat of red. I did have tarps draped all around it and above it while painting but I removed them before thinking to snap a photo.
Please pardon the mess. ;-p


Next, I used a mixture of black paint, clear glaze, and water on my faux finish. I had to experiment with the proportions. Honestly, I think it is a matter of preference and how dark you want your glaze to be. For this project I would say I probably used around 70% glaze to 15% paint and 15%water. In some areas I increased the percentage of paint to make it a bit darker.
A few important tips:
Working in small sections I would brush on the glaze mixture and then wipe with a soft cotton blend rag. (make sure it's not something that will leave fuzz behind). Also, be sure to complete an entire section in a continuous manner so that the glaze doesn't have time to dry before you are done. For example, if you only glaze half of a drawer facing and walk away from it and come back to do the rest you will have a definite line of separation between the two glazing times and it will look like a mess. The wet glaze will either darken the area where they meet or it will cause some of the glaze that was already there to come off leaving patches that are very uneven.
If you want to go back and make the piece darker (which I did on this project), you will need to wait until it is completely dry and set before applying another coat of glaze. I waited a couple of days, but it doesn't necessarily have to be that long.
Here it is after the first coat of black glaze. You can see the color comparison with the lantern. But we still wanted to have some darker areas especially in the corners and crevices of the armoire for a more dramatic effect.

 The sunlight in this photo makes the red look so vibrant. And I love how the dark corners and overall glaze turned out.


This is how it looked in a snapshot on my phone when I purchased it.
*The lighting in the photo makes it look darker than it actually was.

The first step was to take doors off and drawers out. We removed the knobs and hardware and labeled and stored them in plastic bags. The inside shelf was also removed.
Then the entire thing was sanded and cleaned to prep it for painting.


I decided to use a paint sprayer on this project. Quite honestly, it was a big job to tarp everything off so that the overspray wouldn't ruin everything in sight. I do love the paint sprayer, and after working with it several times the process does go faster. And it certainly covers much quicker than brush painting.
With that said, I did the first two coats of paint using the sprayer and the last coat in areas that needed it using a very nice smooth bristle brush.
The inspiration for the finish on this piece came from some of the accessories the home owner had in her already gorgeous living room along with the photos of Asian style furniture found online.

And the base paint color choice for the armoire:
Valspar Signature Interior Satin Paint - Heirloom Red
Here is what they looked like after they were sprayed with the base coat of red. I did have tarps draped all around it and above it while painting but I removed them before thinking to snap a photo.
Please pardon the mess. ;-p


Next, I used a mixture of black paint, clear glaze, and water on my faux finish. I had to experiment with the proportions. Honestly, I think it is a matter of preference and how dark you want your glaze to be. For this project I would say I probably used around 70% glaze to 15% paint and 15%water. In some areas I increased the percentage of paint to make it a bit darker.
A few important tips:
Working in small sections I would brush on the glaze mixture and then wipe with a soft cotton blend rag. (make sure it's not something that will leave fuzz behind). Also, be sure to complete an entire section in a continuous manner so that the glaze doesn't have time to dry before you are done. For example, if you only glaze half of a drawer facing and walk away from it and come back to do the rest you will have a definite line of separation between the two glazing times and it will look like a mess. The wet glaze will either darken the area where they meet or it will cause some of the glaze that was already there to come off leaving patches that are very uneven.
If you want to go back and make the piece darker (which I did on this project), you will need to wait until it is completely dry and set before applying another coat of glaze. I waited a couple of days, but it doesn't necessarily have to be that long.
Here it is after the first coat of black glaze. You can see the color comparison with the lantern. But we still wanted to have some darker areas especially in the corners and crevices of the armoire for a more dramatic effect.

This is after the second coat of black glaze.
You can see my sponge sander.
It is a very fine 180grit for lightly sanding between coats of clear Polycrylic sealer. I applied three coats of the Polycrylic using a soft bristle paint brush. Each coat was applied spaced out over the course of a week or so. But the reason for that was that we had a lot of rainy days and times that the air was too humid. I would recommend following the directions on the product based on your painting conditions. This Polycrylic sealer gives a very nice professional, durable, protective coat to the furniture.


Here are some photos I took with my phone when we moved it into its new home and put all of the hardware, doors and drawers back together.


And one last pic of it in the room.

Subscribe to:
Posts (Atom)